How To
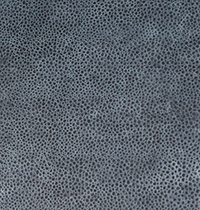
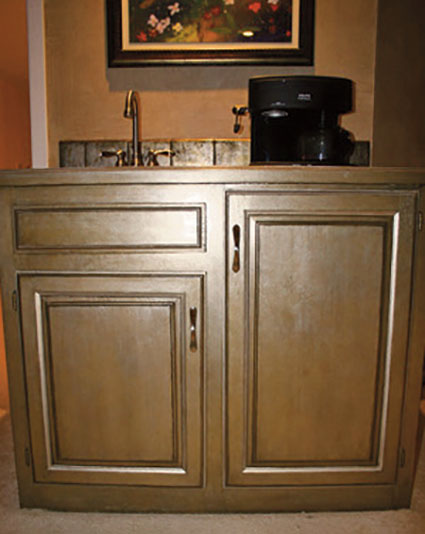
Twilight Taupe Cabinet Finish
Faux Effects® Products:
Royal Taupe SetCoat®
DuraSeal Sanding Sealer™
AquaCreme™
Caterpillar Gold MetalGlow®
Tiger Eye VenetianGem®
Van Dyke Brown Stain & Seal™
Antique Mahogany Stain & Seal™
Master Finishing Wax™ or Varnish Plus Satin™
Tools & Supplies:
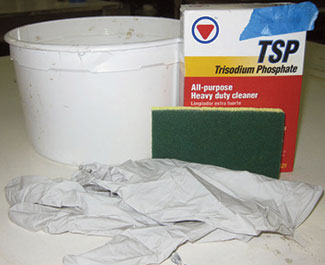
Powder TSP
Scrubbing Sponge
220 and 600 Grit Sandpaper
Cheesecloth
Plastic Containers
Sea Sponge
Japan Scrapers
Brushes including a Neon Leon and a small flat Chip Brush
Black Foam Rollers (for applying Varnish Plus™)
Preparation: Mix the Powder TSP per the box instructions in a plastic bowl. Brush the TSP over the wood surface and wipe with a damp scrubbing sponge. Do this to all the wood and let the TSP work on the surface for several hours. When the surface feels dry, use 220-grit sandpaper to sand the surface following the wood grain. Wipe the dust and TSP residue with a damp cloth. The TSP and sanding should remove debris and leave the surface looking matte. This preparation may be done in themorning and should dry for several hours.
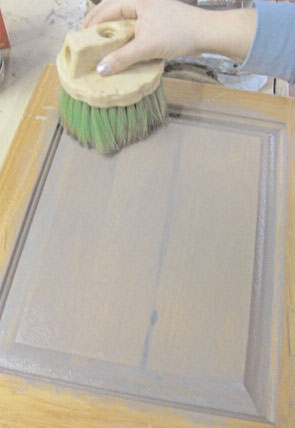
Step 1: Mix 1 part DuraSeal Sanding Sealer™ with 2 parts Royal Taupe SetCoat®. Brush the DuraSeal™ mixture on the center panel and stipple finely with a Neon Leon brush. Do the same technique to the rails and stiles. You should be able to see some of the wood grain underneath this application. Repeat on all the cabinets and frames. This layer needs to dry overnight.
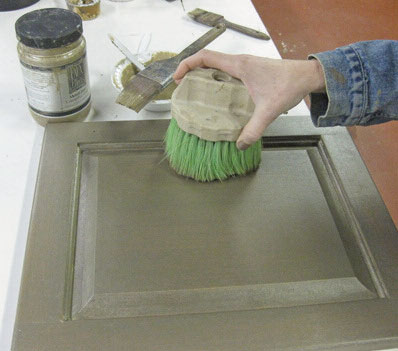
Step 2: Sand the dried DuraSeal™ mix with the 220-grit paper following the wood grain and wipe with damp cheesecloth. Mix 3 parts AquaCreme™ with 1 part Caterpillar Gold MetalGlow®. Again, working from the center out, brush the Caterpillar Gold mix and pounce finely with a Neon Leon. Cover the entire piece. Allow this layer to dry well.
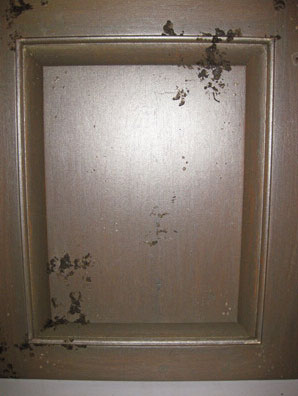
Step 3: This is an optional layer. To add interest to a cabinet, use a sea sponge to dab areas with Tiger Eye Venetian Gem®. This resembles small areas of paint spatters. Use a Japan Scraper if necessary to flatten some of the plaster peaks. The plaster should dry at least an hour.
Step 4: Thin Van Dyke Brown Stain & Seal™ with a small amount of AquaCreme™. You want the stain thick enough to use for detailing and tipping. Apply the Van Dyke Brown mixture to the architecture of the piece. Allow to dry well.
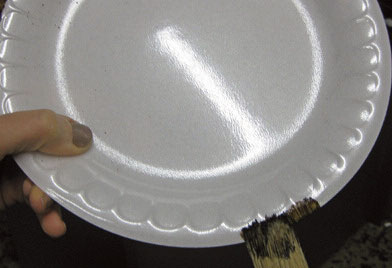
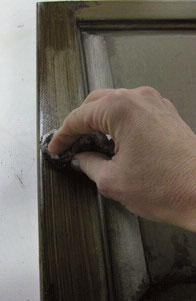
Tipping Part A: Dip the brush in the slightly thinned stain and off load on a plate.
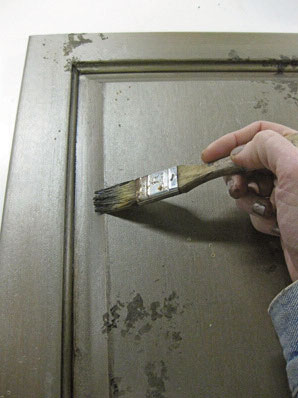
Tipping Part B: Lay the brush flat on the edge of the cabinet with the handle facing into the piece. Lightly wiggle the brush as you work up the edge. Turn the door as you work around the cabinet keeping the brush in the same position.
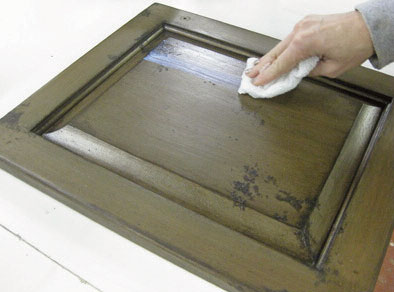
Step 5: Mix 1 part Van Dyke Brown Stain & Seal™ with 1 part AntiqueMahogany Stain & Seal™ and thin with 3 parts AquaCreme™. Working from the center panel out, brush the stain and wipe with the cheesecloth. Allow to dry well.
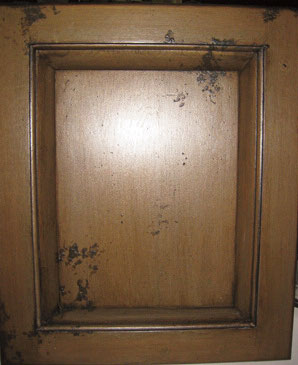
Topcoat Option One:Wax Thin Master Finishing Wax™ with some AquaCreme™ (1-2 tbsp AquaCreme™ per quart of wax). Brush the Master FinishingWax™ following the wood grain. Fold a piece of cheesecloth in a square and wipe the wax following the grain. Allow the wax to dry at least 30 minutes and lightly sand with 600-grit sandpaper. Repeat with wax if needed and do not sand the second application.
Topcoat Option Two: Varnish Plus™ If you want a sprayed topcoat, use Varnish Plus Satin™. This may also be rolled using a black foam roller and brushed. A second coat must be applied within 4 hours or wait 48 hours.

Finish Courtesy of: Rebecca Slaton
Lenexa, Kansas
If you enjoyed this article, send
it to your friends on Facebook!