
How To
A Mantel for All Seasons
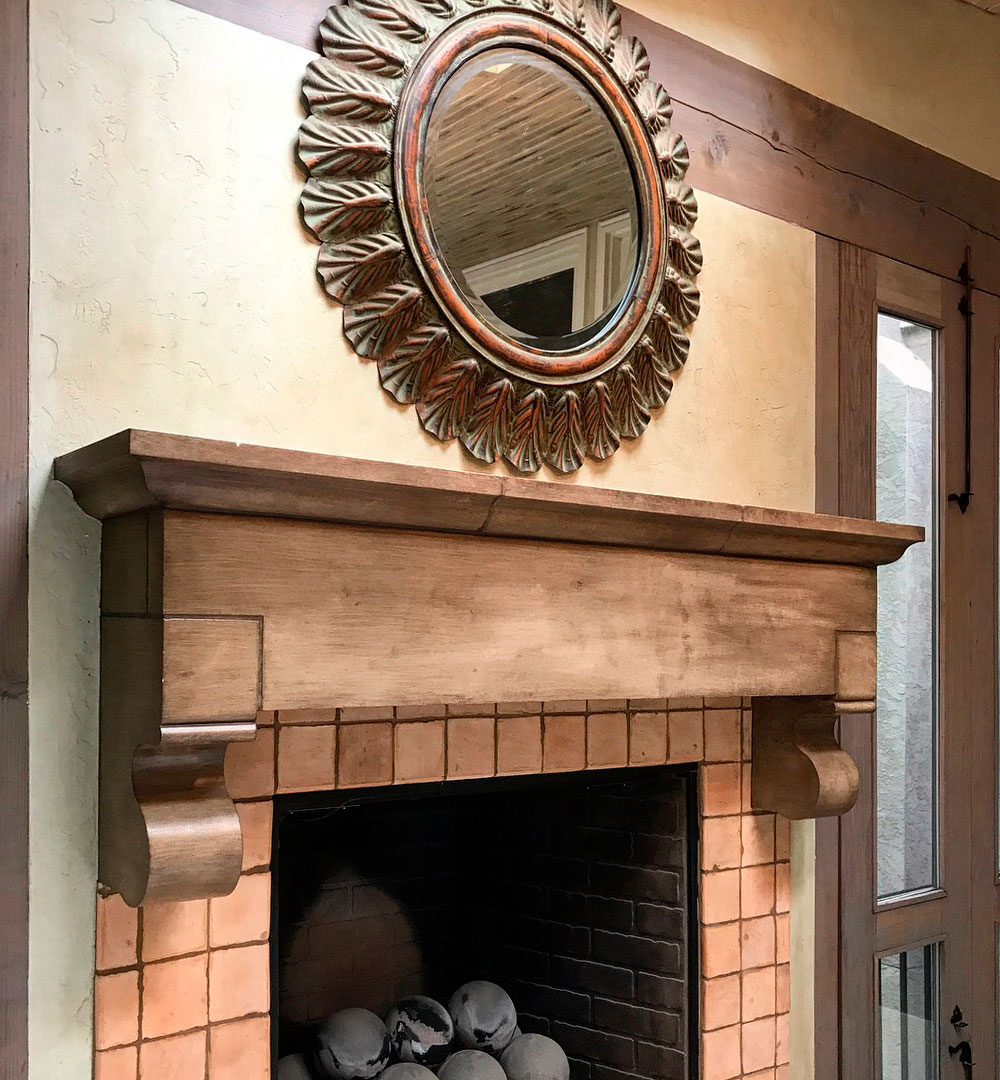
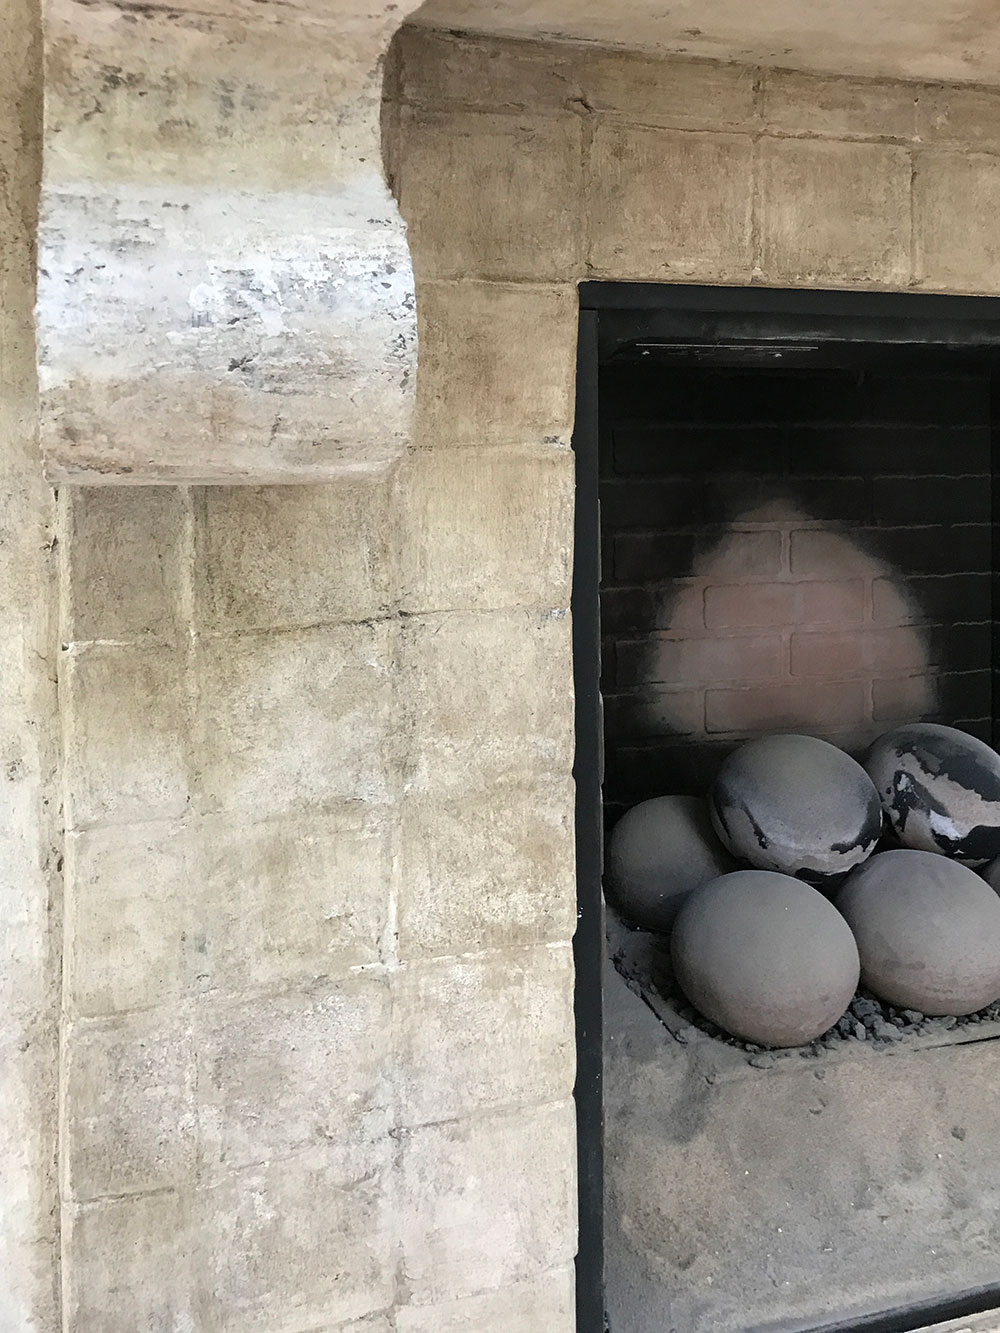
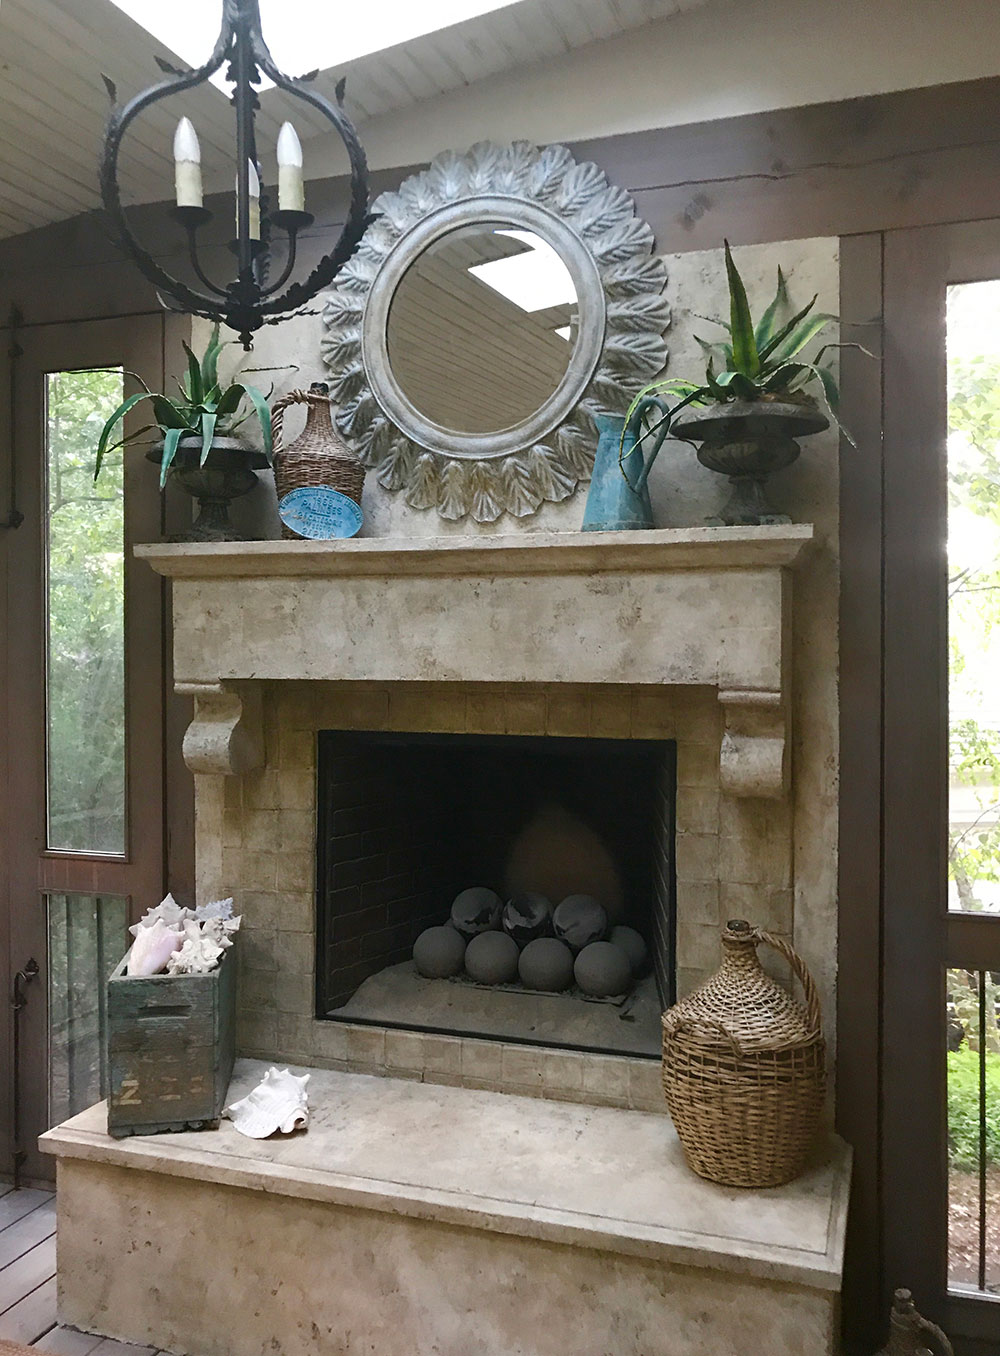
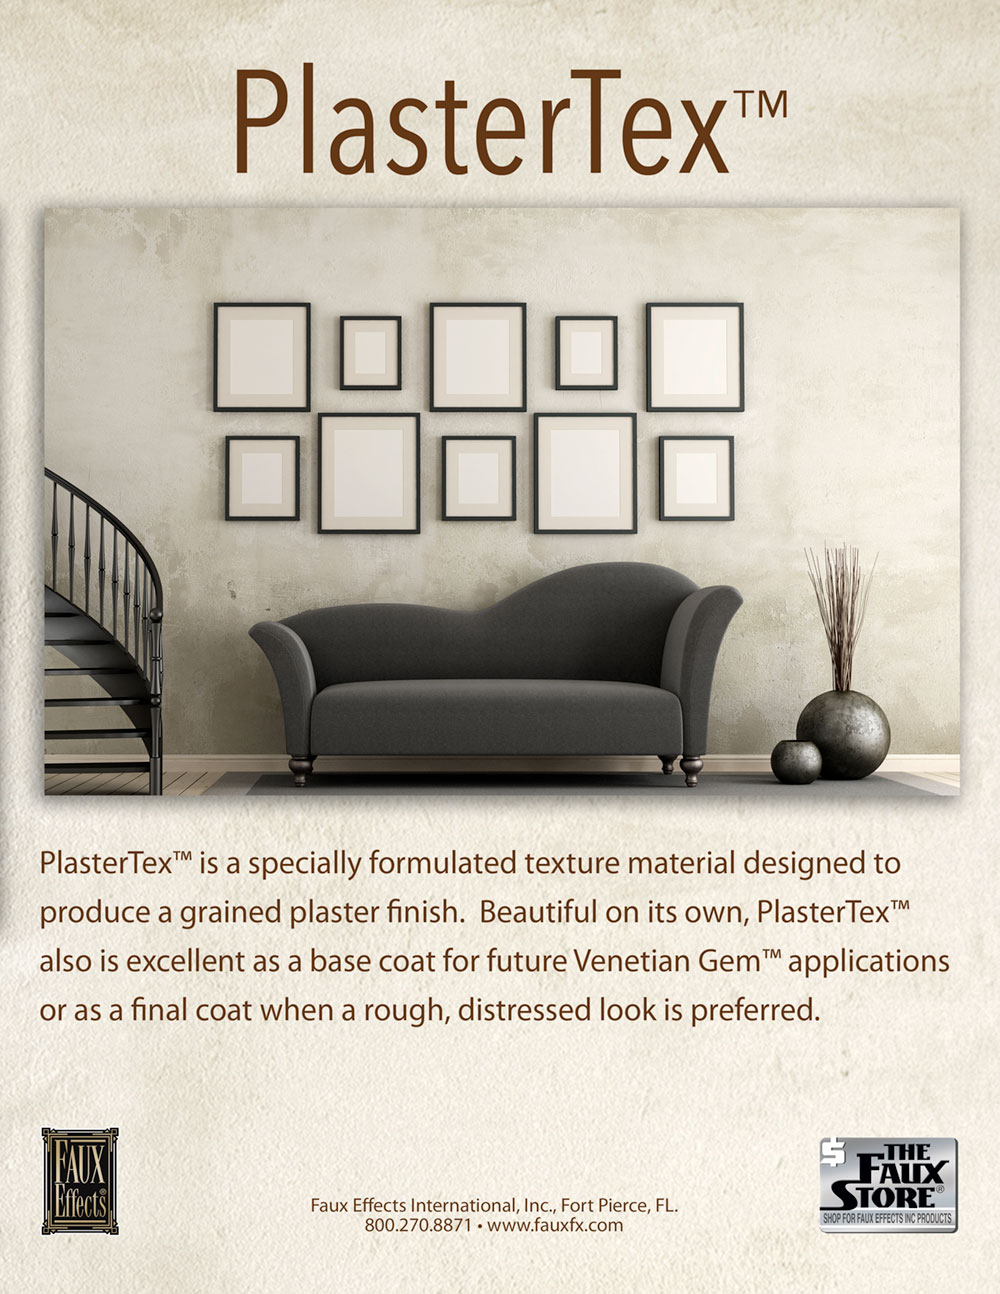
One of the homiest touches in an interior space is an inviting fireplace. But many homeowners believe the only way to make over a dated one is to either mask it with décor or tear it out and start fresh. But with the right products, you can reimagine a fireplace into any design style. My client desired a fireplace that appeared to be one piece, and our inspirational look is an antique French mantel—something found in a flea market.
The Before. The wall above the mantel and below the hearth is drywall mud previously painted and glazed. The mantel piece and hearth are painted concrete that has been glazed but not sealed. The tile is natural, unsealed terracotta. When working on a fireplace, you need to consider the firebox and radiating heat. If the surrounding tile gets hot, then coating it with paint products not rated for fireplaces is discouraged. The mantel and wall is not a problem. In this case radiating heat is not an issue.
Faux Effects® Products:
Mantel:
Texture Coat™
PrimEtch™
SetCoat® - Royal Taupe
RsStone® Fine
RsStone® Coarse
FauxCreme Color™ - Ochre Yellow, Van Dyke Brown
FauxCreme® Clear
Mirror:
Venetian Gem® - Moonstone Grey
Designer Foil Size™
Composite leafing - Silver, Gold
SandStone™
Old World Finishing Paint™ - Sky
Any Faux Effects® topcoat
Tools & Supplies:
Brush
Roller and roller covers
Japan scraper
Flexible trowel
Plastic bags
Sea sponge
Spray bottle with water
Terry cloth or cheesecloth
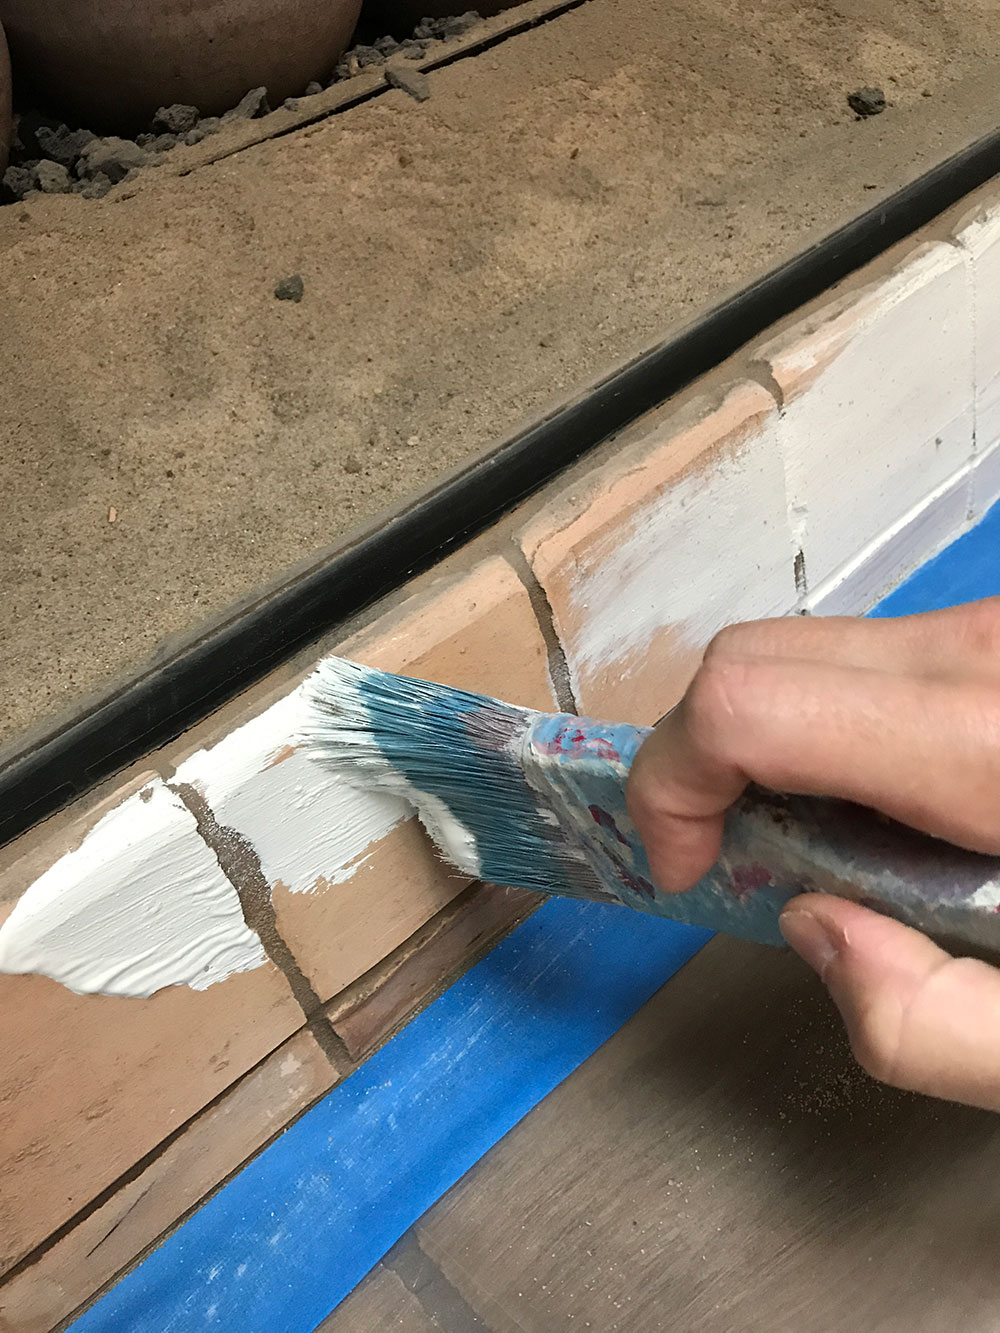
Step 1: Make sure the surface is clean. Lightly sand smooth surfaces and wipe down the dust. Since the tile is not sealed and is porous, I painted Faux Effects’® Texture Coat™ directly on the tile and over the grout. If the tile is sealed, roll on a coat of Faux Effects’® PrimEtch™ and let this dry at least overnight. The next day, apply Texture Coat™.
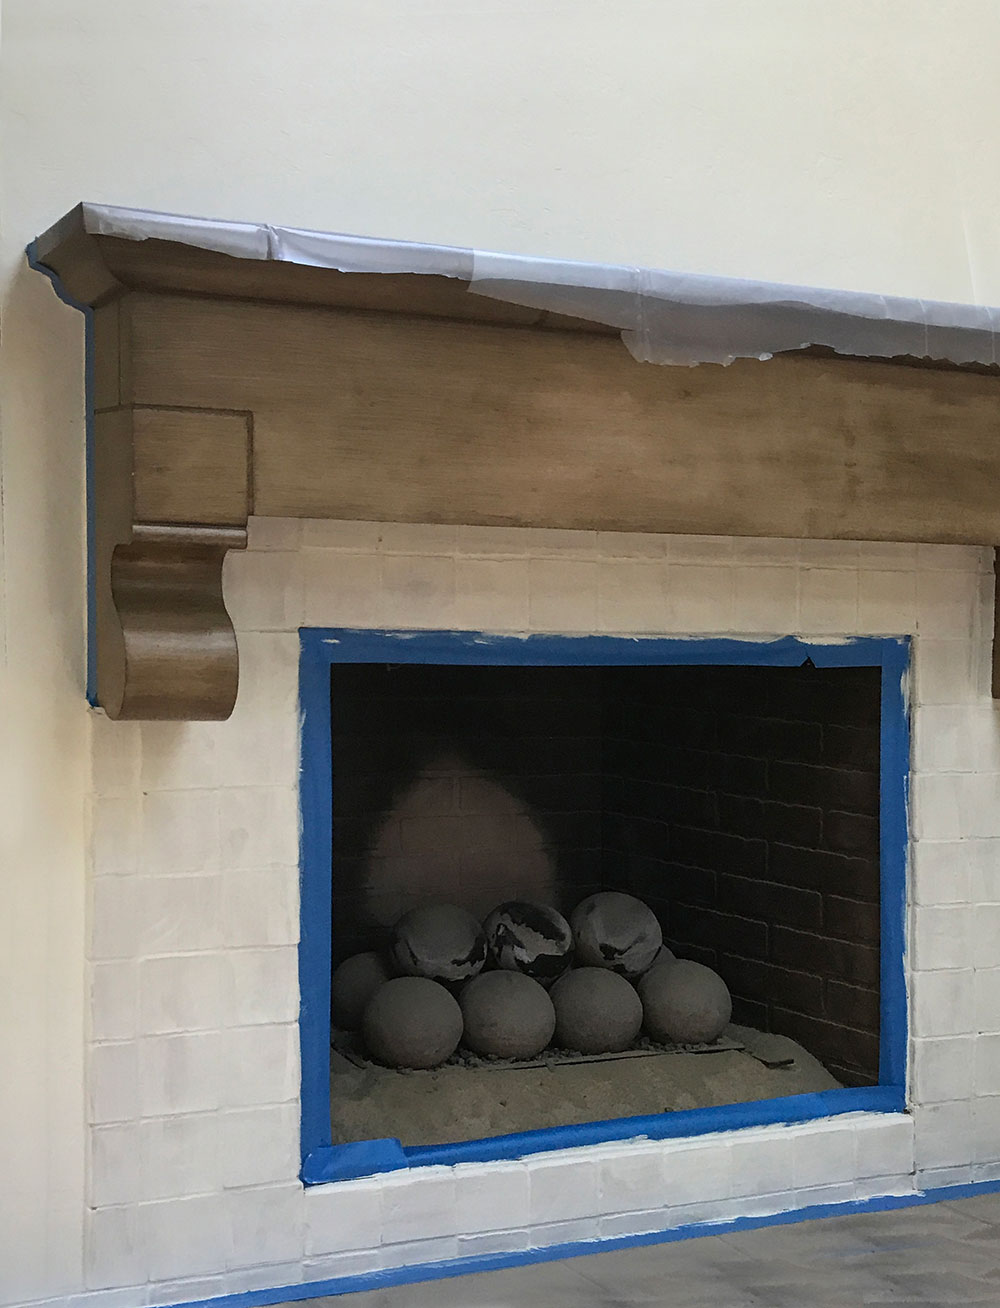
Step 2: Texture Coat™ also is rolled over the painted drywall finish above the mantel and below the hearth. The mantel and hearth also are not sealed. After sanding and cleaning, I applied Royal Taupe SetCoat® and let it dry overnight.
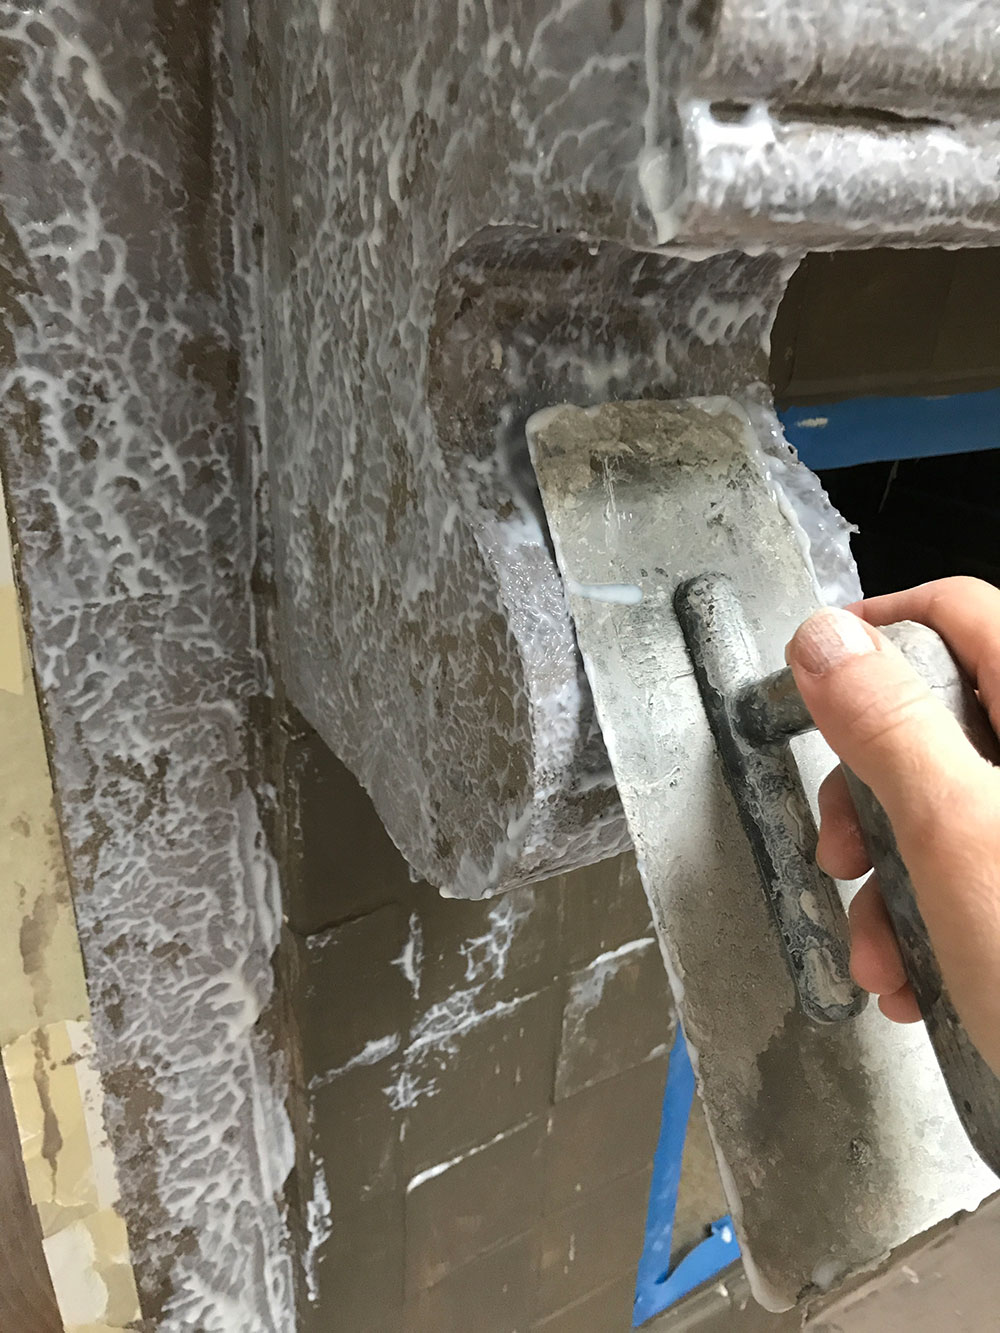
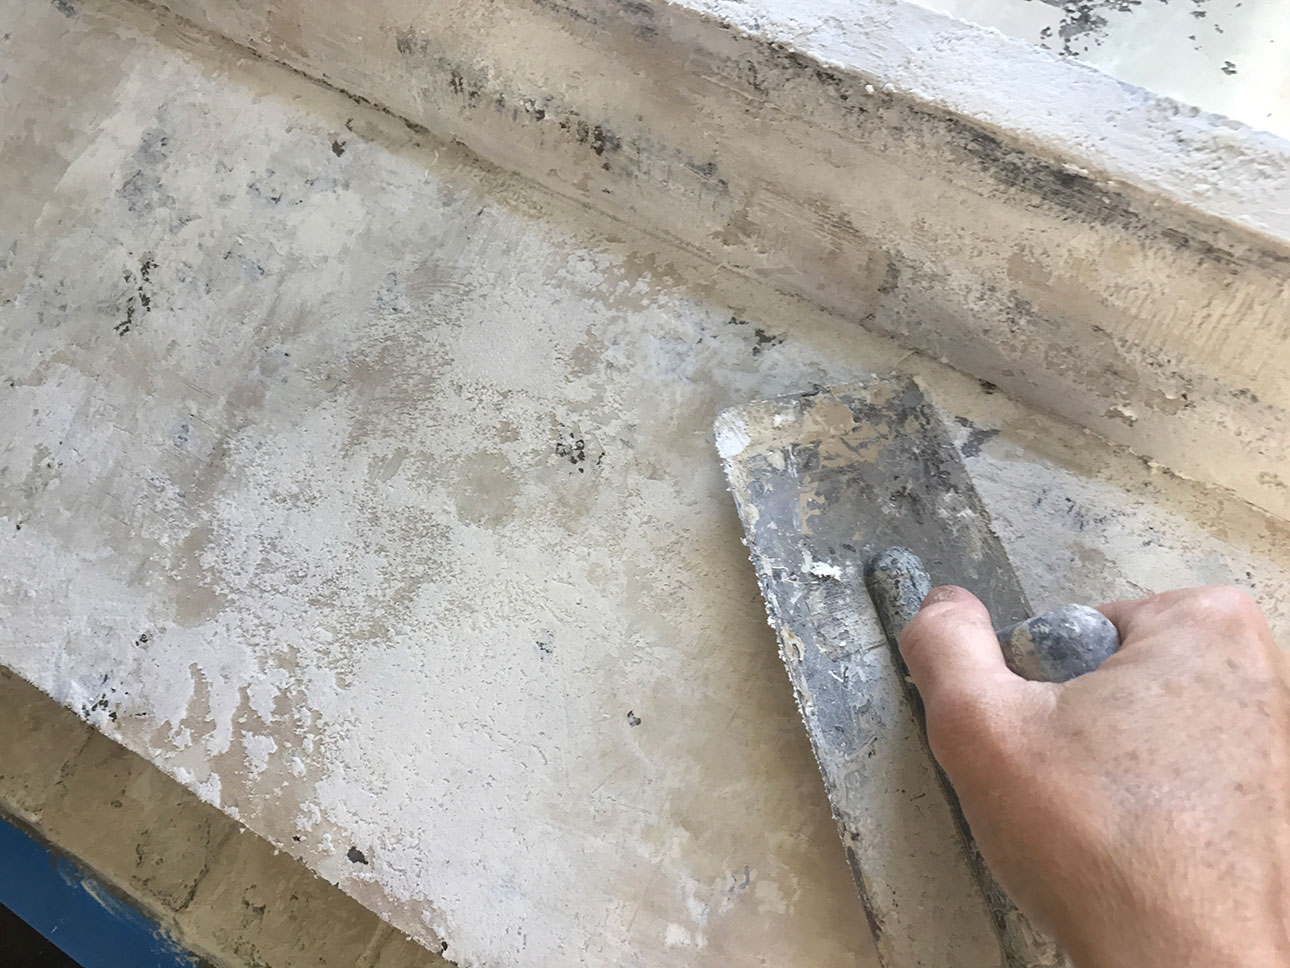
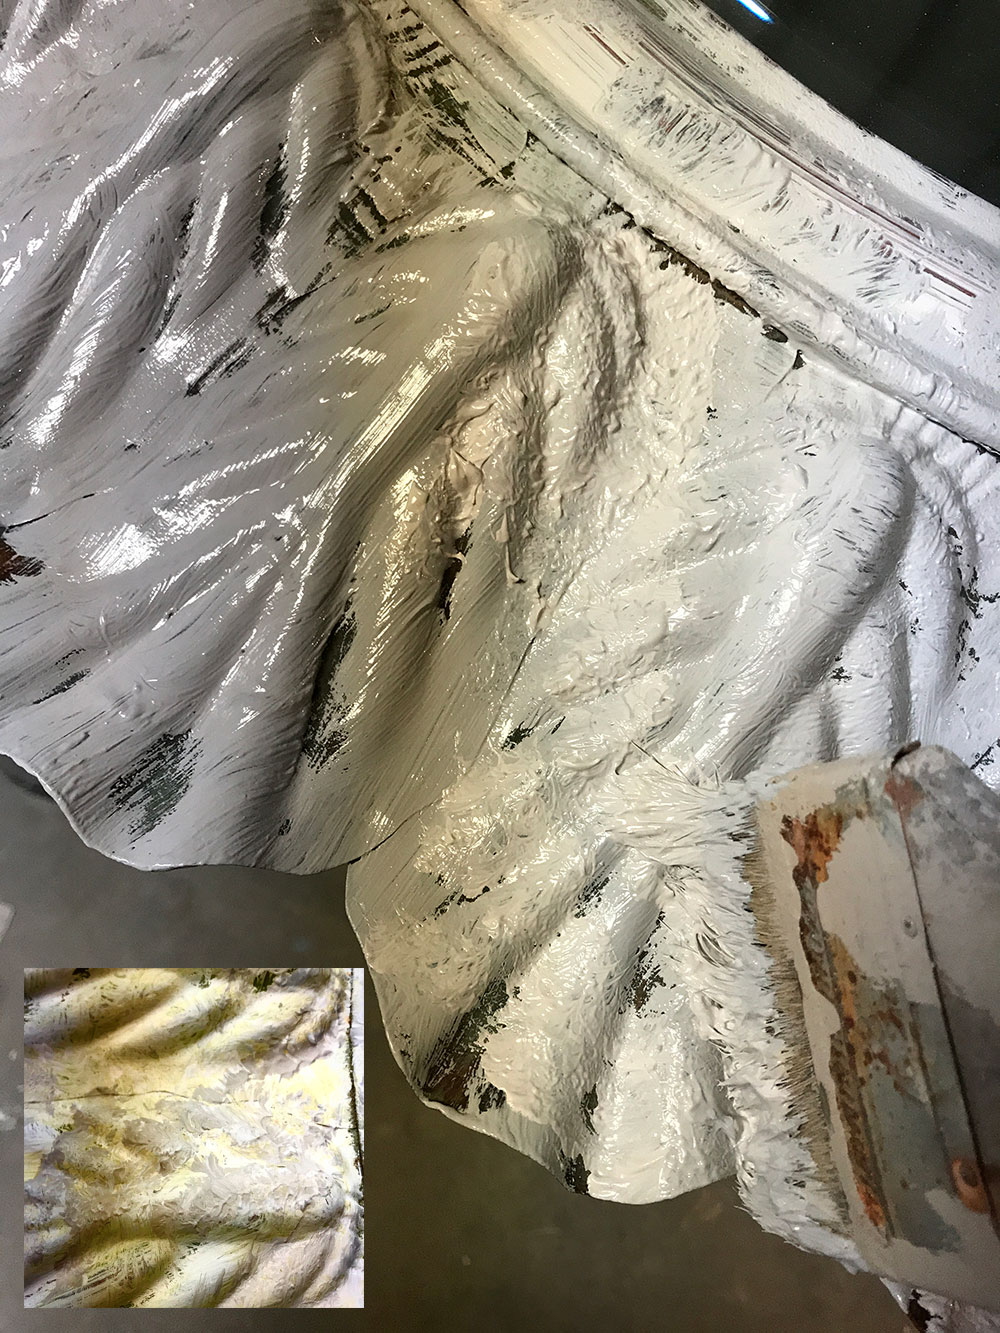
Step 3: To create a “pitted” texture, I used Faux Effects’® RsStone Fine™ untinted, popping it on to create areas resembling raised veins. (photo 4) This technique makes it easier to wrap curved surfaces since the end of an application trowel is used. (photo 5) If the area is really curved or tight, pop on the plaster using a wadded up plastic bag or large sea sponge. Wait at least 30 minutes before using a smaller blade to compress (lightly flatten) the stone peaks. I like using a flexible Japan Blade or cut piece of polystyrene to do this operation.
RsStone® Fine is applied over the tile, mantel, hearth and wall areas. Allow the layer to dry for at least half a day.
Step Four: Divide RsStone® (this is a thicker mixture than RsStone® Fine) into 3 parts—tint 2 and leave 1 untinted:
1 quart RsStone® + 1 TBSP Royal Taupe SetCoat®.
1 quart RsStone® + 2 TBSP Texture Coat™ + 1 TSP Ochre Yellow FauxCrème Color™
½ gallon of RsStone®—leave untinted.
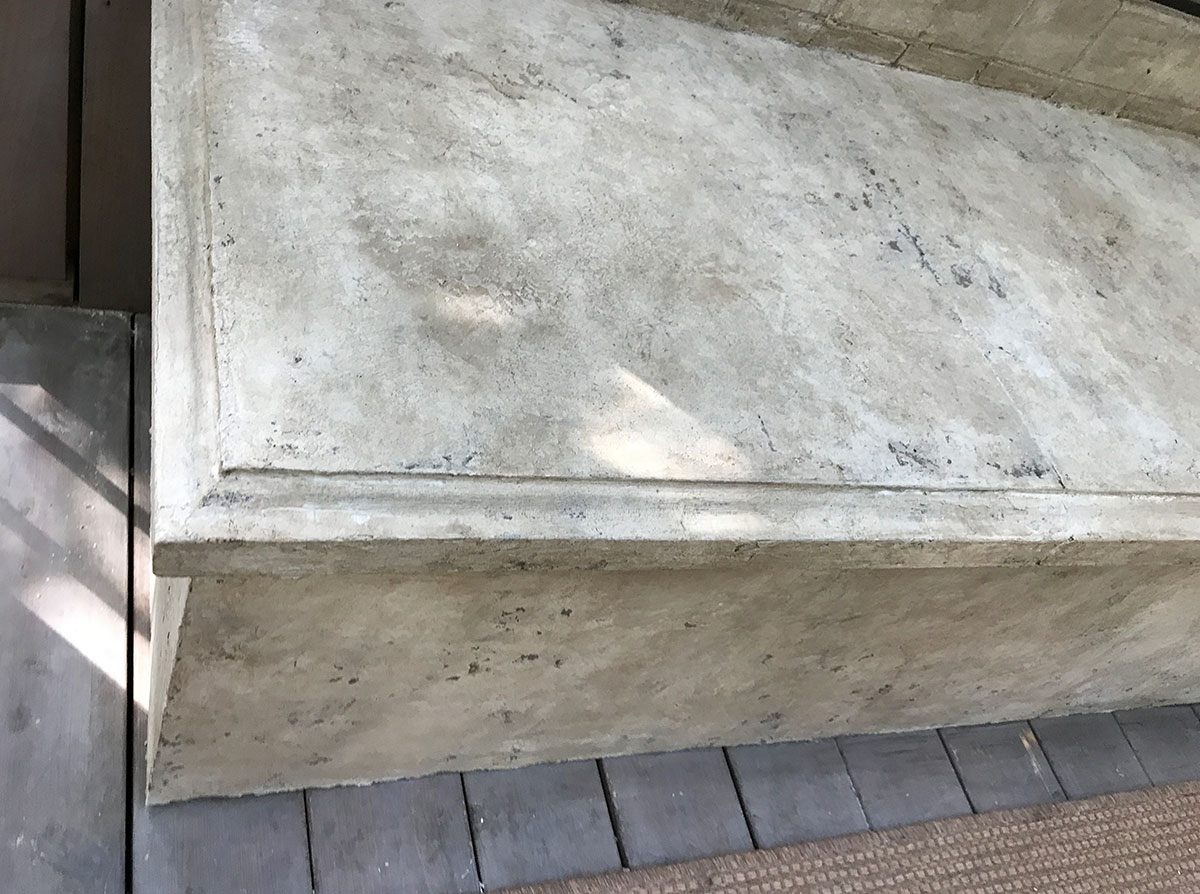
Tight trowel the different colors over the raised base plaster—you want this layer to conform to the texture underneath. I made sure the untinted RsStone™ is on top to blend and soften the finish.
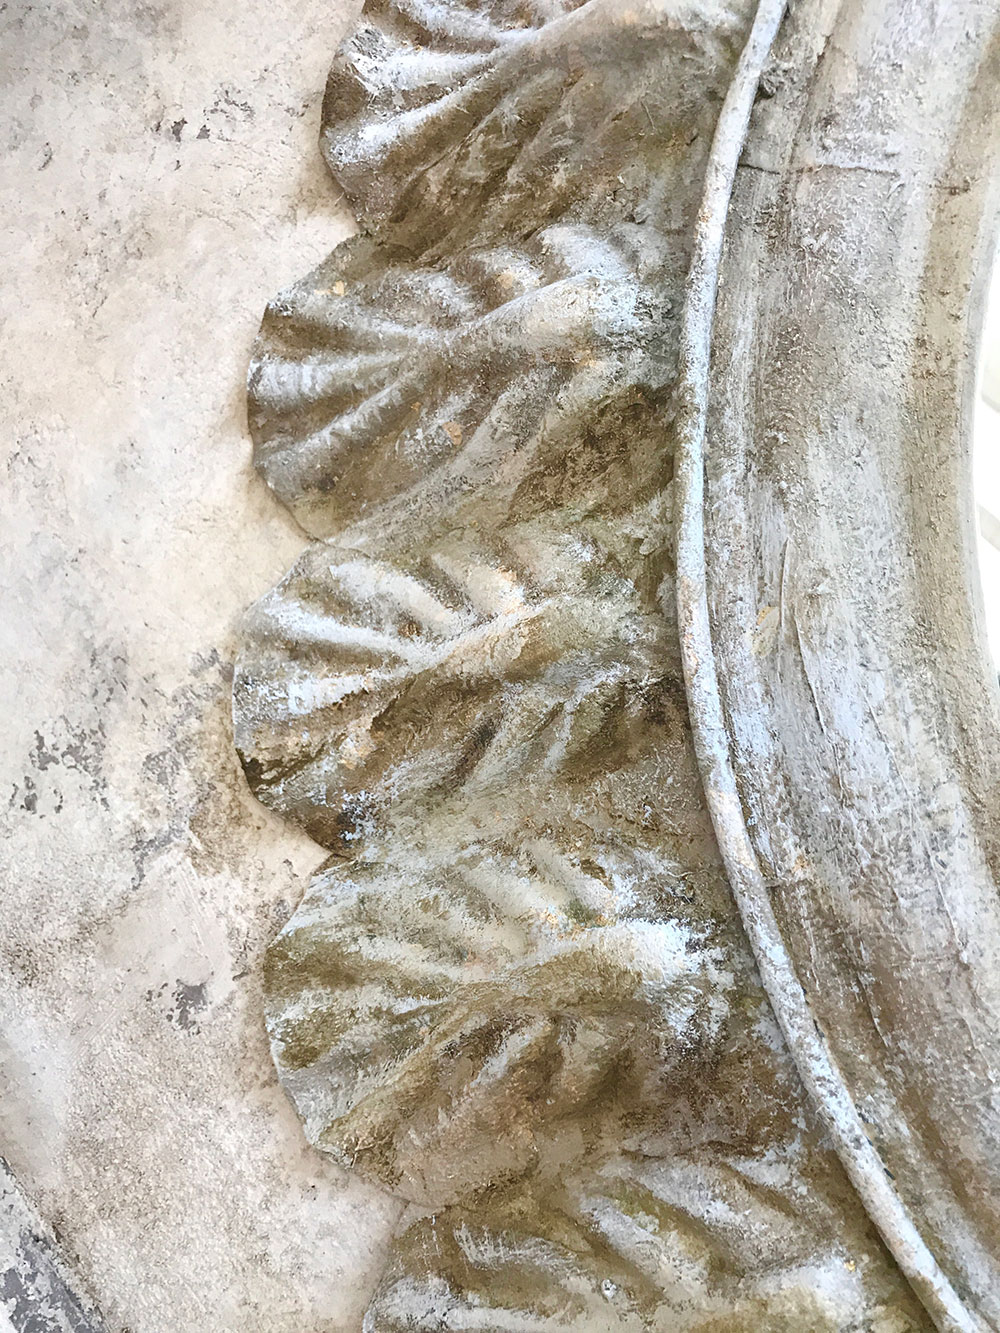
Step 5: To age the finish, mix 1 quart of FauxCrème® Clear + 1 TBSP Ochre Yellow FauxCrème Color™ + ¼ cup Van Dyke Brown FauxCrème Color™. RsStone® is porous, so I like to spritz the surface with water, brush on the tinted glaze and wipe it back with a dry cloth. To remove more glaze, spritz with more water. I intentionally kept the glaze darker on the tile to provide some contrast with the surround.
The Mirror
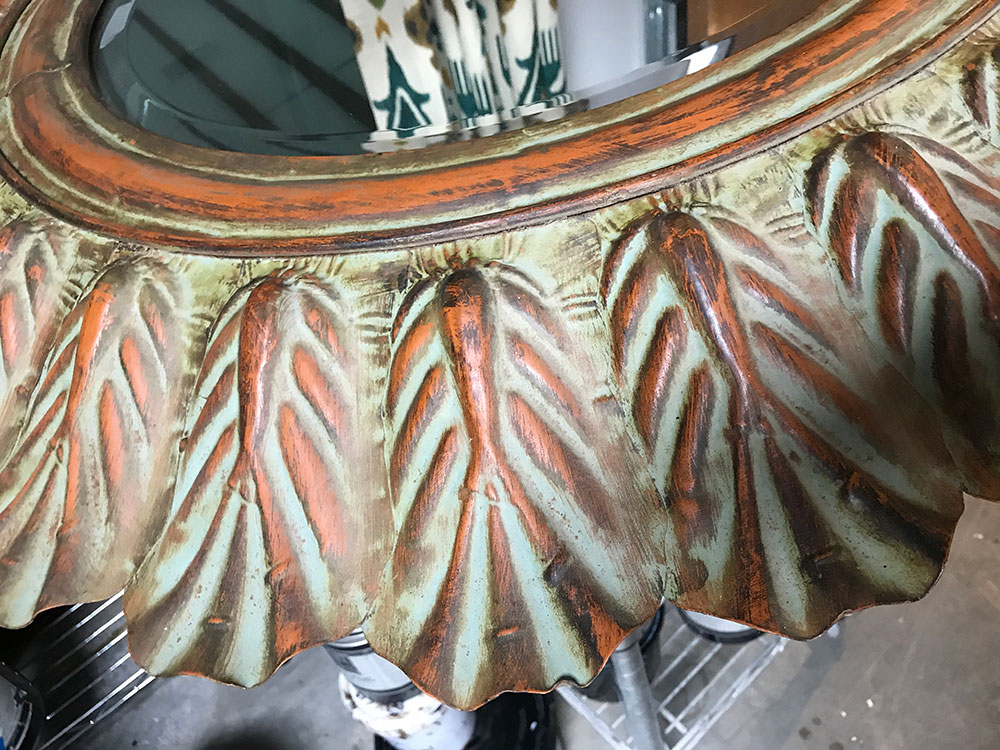
My client loved her new “old” fireplace so much she wanted the faux Verdi metal mirror to blend in more.
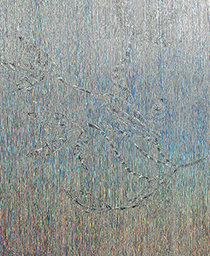
Step One: I wanted the metal to rust and knew this would happen by applying a water-based product directly to the surface. If you don’t want rust, then you need to oil prime the metal first. I used Faux Effects’® Venetian Gem® in Moonstone Grey. I brushed this over the surface and popped it up in areas for some texture.
You can see as it dries that a bit of rust is showing through
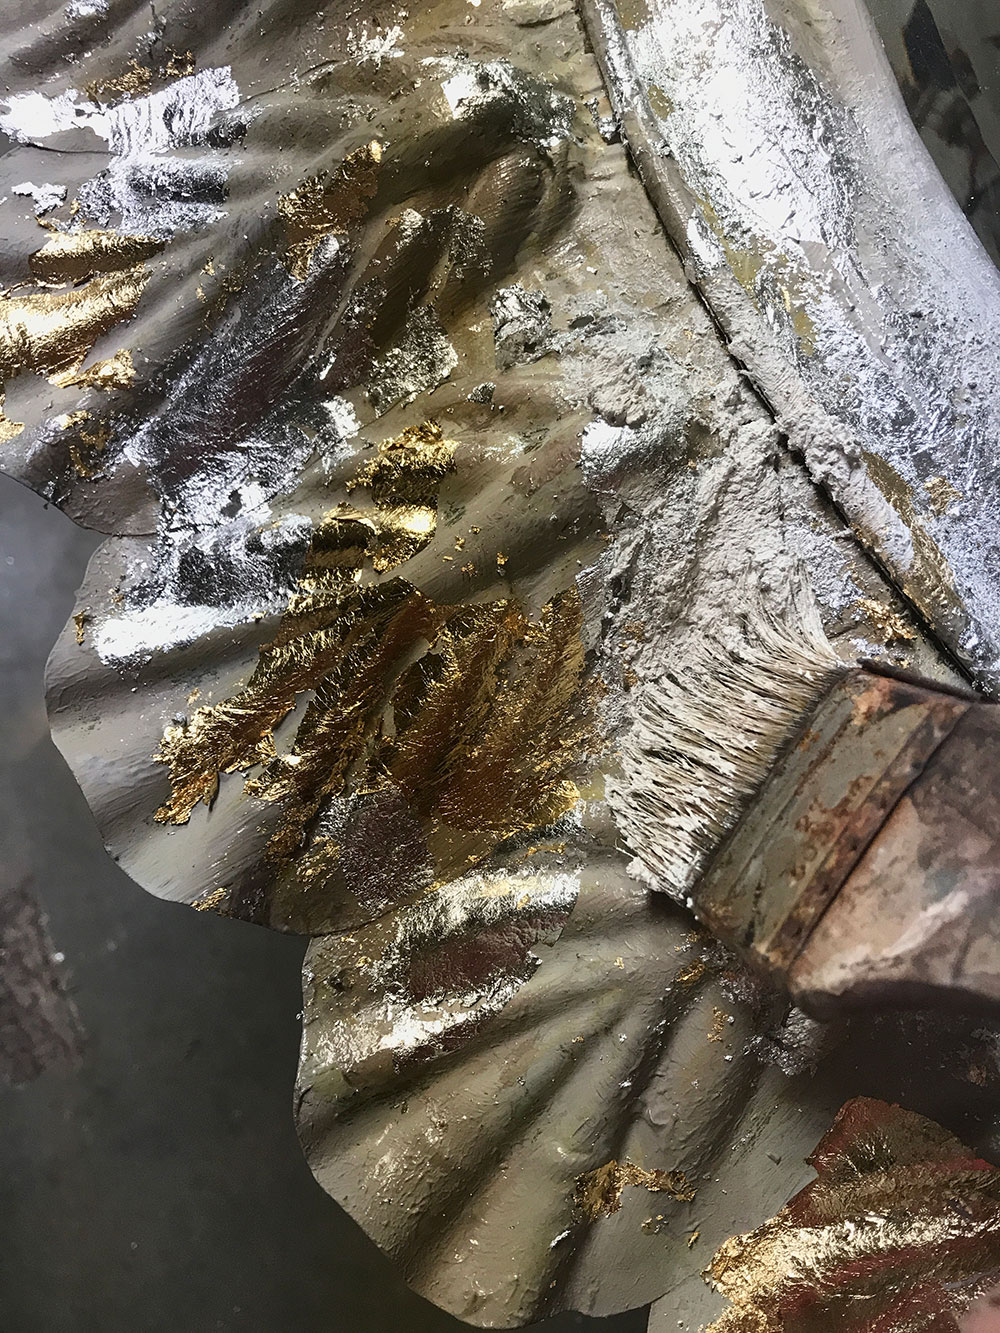
Step Two: When the Venetian Gem® is dry, I applied Faux Effects’® Designer Foil Size™ in random areas. I let this set-up for about an hour until it was tacky but not wet. I opted to use Silver and Gold Leaf, but you could also use foils. Since we want an aged look, I didn’t bother with sealing the leaf.
Step Three: Whip a quart of Faux Effects’® SandStone™ with 1 cup of water to a fluffy paste. Use a brush to dab this over the leaf, softening the transitions between gold and silver.
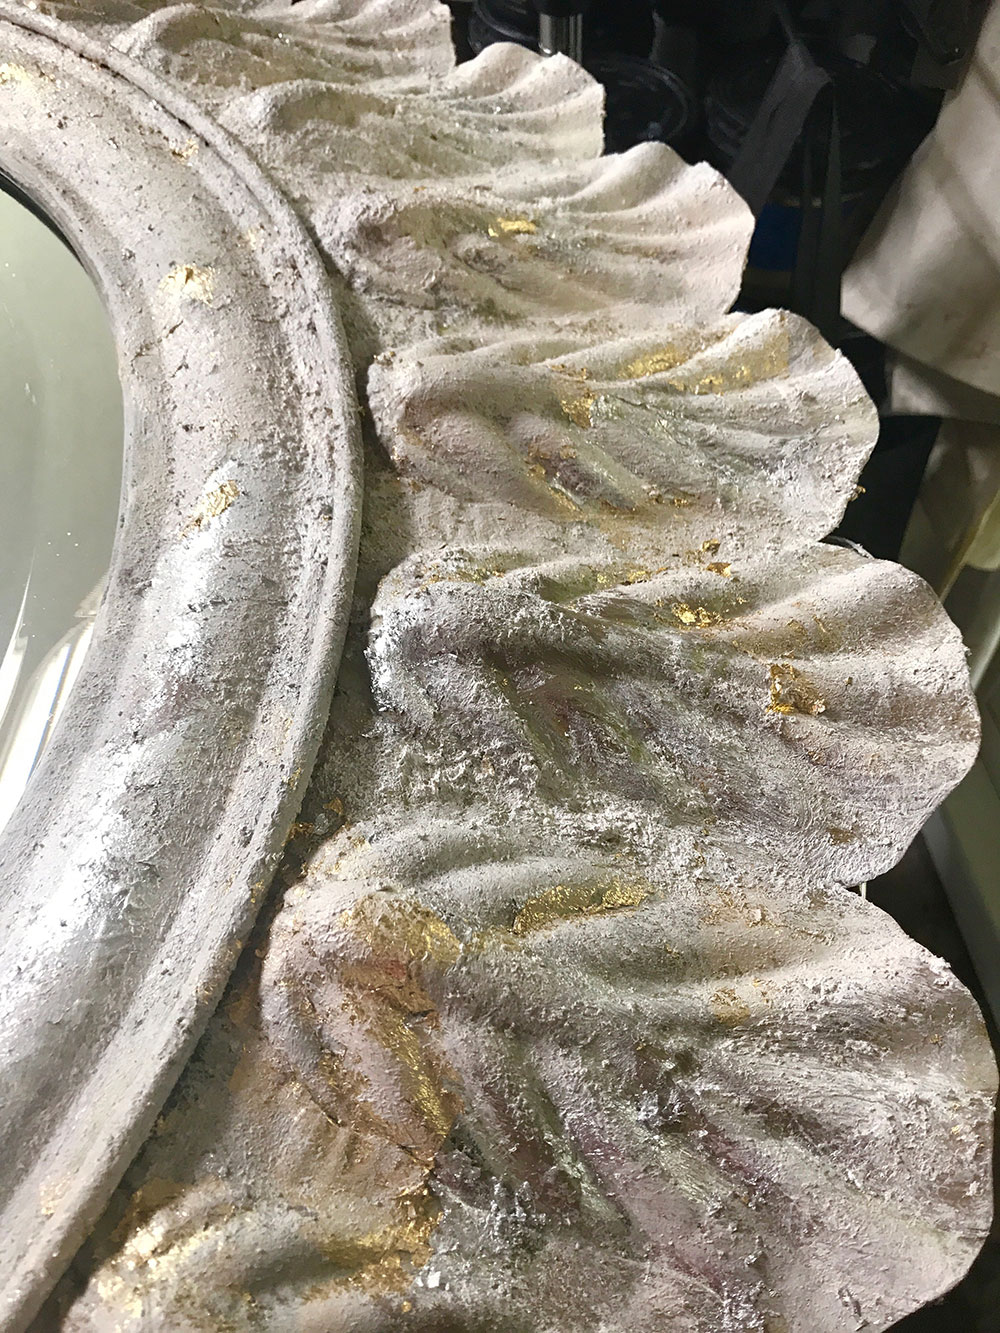
Step Four: This client loves blue and uses it in all her décor—holiday and year round. To bring in the right shade of French Blue, I brushed in areas of Faux Effects’® Old World Finishing Paint™ in Sky, which also was used on her ceiling makeover for this same room.
Step Five: The same glaze used on the fireplace makeover is used on the mirror.
To seal and protect the finishes, roll on a topcoat in a dull sheen. I used C500™ Dull watered down 20%, but you could use AquaGard™ or Varnish Plus™.
The fireplace is now ready to be decked out in holiday cheer but will be perfect for every change of season, whether the family is enjoying its warmth in the winter or opening the porch to the outdoors in summer.

Finish Courtesy of: Rebecca Slaton
Lenexa, Kansas
If you enjoyed this article, send
it to your friends on Facebook!
