How To
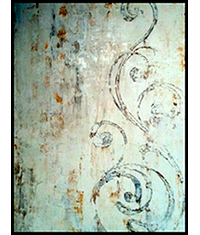
Matisse Finish
This is our Matisse finish from Watercolor walls. It is a soft production plaster finish perfect for large and small spaces. Matisse looks great without or without a pattern and may be glazed for added depth. Because we use Old World Finishing Paint™ as a tint, this recipe is easy to adapt to several colorways-just change the Old World Finishing Paint™ used!
Materials for Matisse Finish:
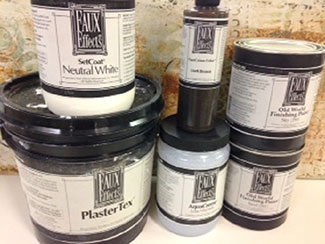
Neutral SetCoat®
PlasterTex®
Old World Finishing Paint™ (Steel & Sky Blue)
O'Villa® Finishing Plaster
AquaCreme™ Low Viscosity Glaze
Dark Brown Faux Crème® Color
Mix 1 quart of O'Villa® Finishing Plaster + 1 cup Steel Old World Finishing Paint™. Mix 1 quart of O'Villa® Finishing Plaster and 1 cup Sky Blue Old World Finishing Paint™.
Step 1: Step one: Apply 1-2 coats of Neutral White SetCoat®. Dry well.
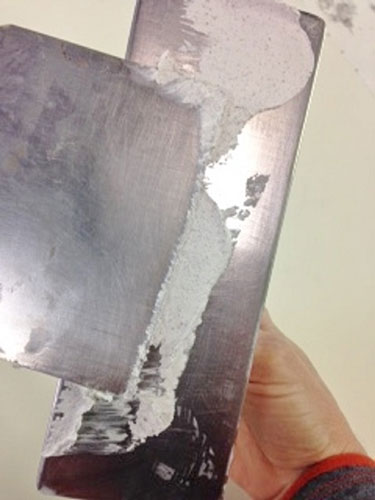
Step 2: The products in this layer are applied wet into wet, so have them mixed and ready to apply. Butter your application trowel with PlasterTex® using a Japan Blade.
Pop the PlasterTex® onto the surface in connecting areas creating peaks with the blade.
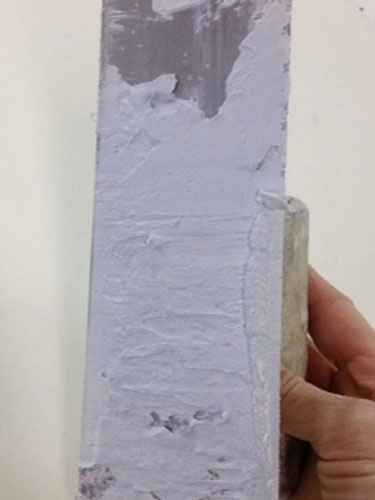
While the PlasterTex® is wet, butter your application trowel with the O'Villa® and Steel Old World Finishing Paint™ mix.
Pop this on in the same manner as the PlasterTex®. Repeat with the O'Villa® and Sky Blue Old World Finishing Paint™ mix.
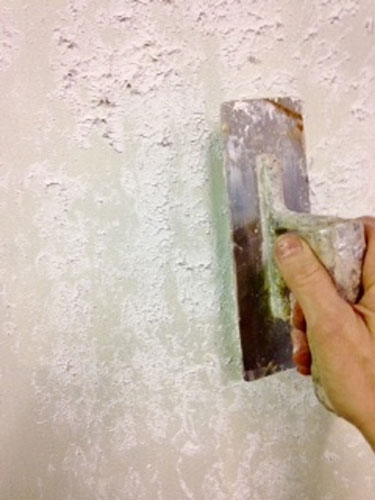
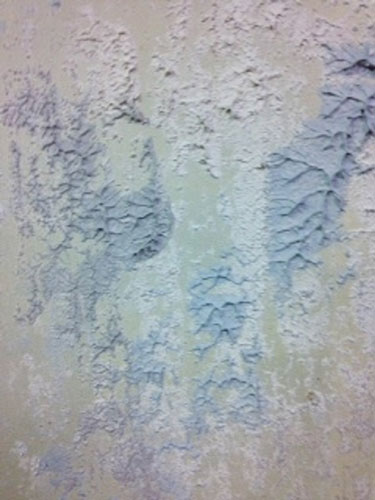
When you have a 2' x 2' section done with all 3 colors, use your application blade to gently flatten the peaks and gently blend the colors. Pull the blade both horizontally and vertically.
Continue working the PlasterTex® and O'Villa® colors across your surface. You want 90% coverage of the Neutral White SetCoat®. Dry.
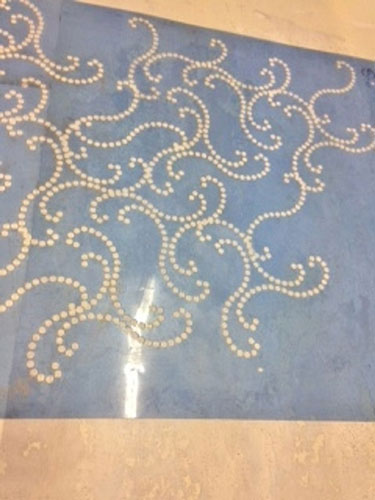
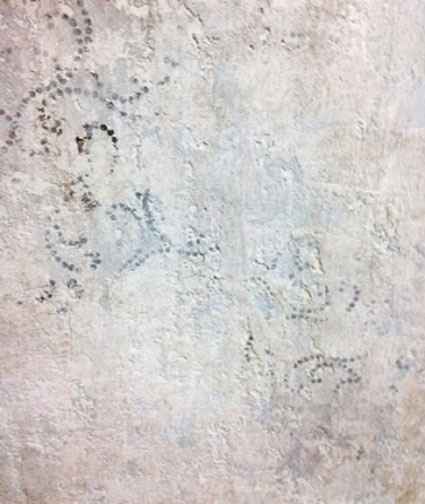
Step 3: This is an optional step. One of my favorite stencils is Faux Effects®' Samantha Swirl because you may turn it every which way!
Start by taping the stencil in a corner. I like using Faux Effects®' Faux Metal™. This time I used silver but it also comes in gold, bronze, and copper shades. You may use a brush or a roller to apply the Faux Metal™ over the pattern.

Move the stencil down your surface to connect the pattern.

This is a random pattern applied here and there over the surface. Dry.
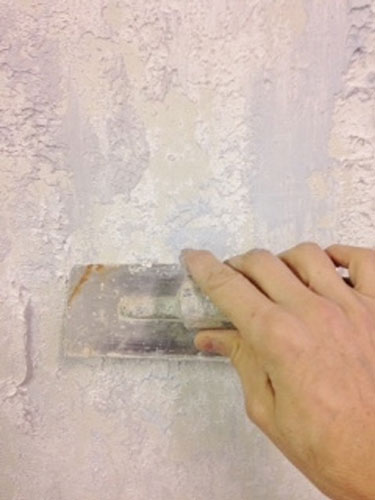
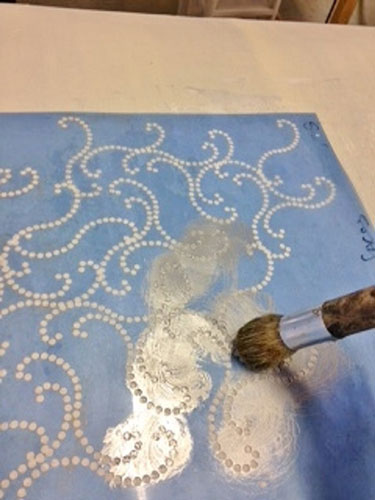
Step 4: Repeat the processes in Step 2, applying more of the PlasterTex® to keep the finish light. The purpose of this step is to soften areas between the pattern and create depth. If no pattern is applied, this step will just create depth.
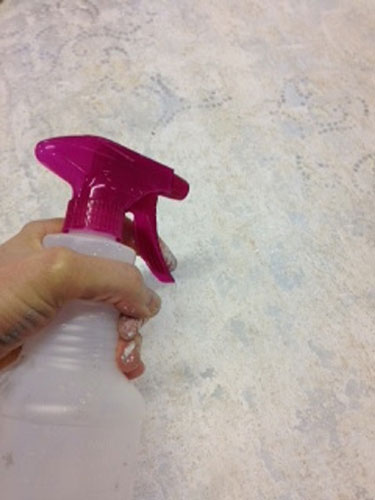
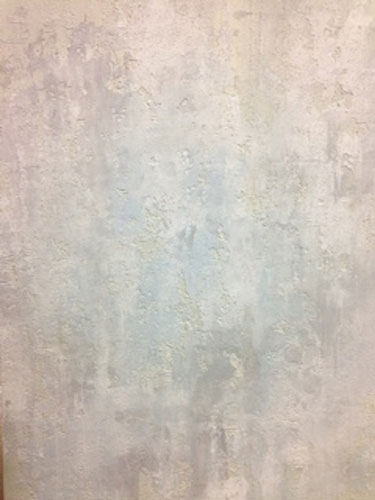
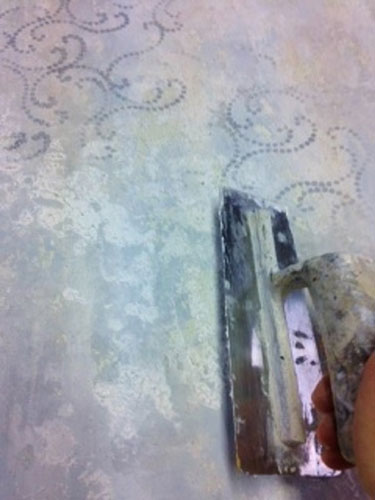
Step 5: To glaze the finish mix 1 quart of Low Viscosity AquaCreme™ and 1/2 Cup Dark Brown FauxCrème Color™. AquaCreme™ Low Viscosity is a great choice for textured finishes. The thickness lets the color settle in the low areas and the low viscosity gives you open time to work! Spritz the surface with water.
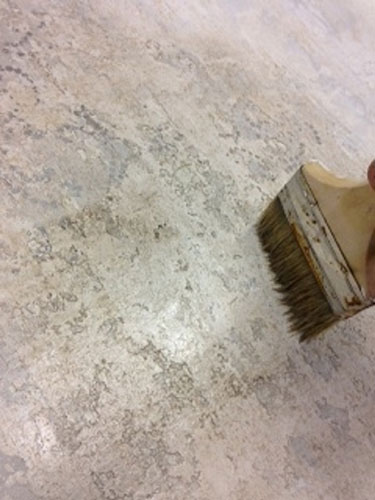
Brush the Dark Brown glaze over the surface.
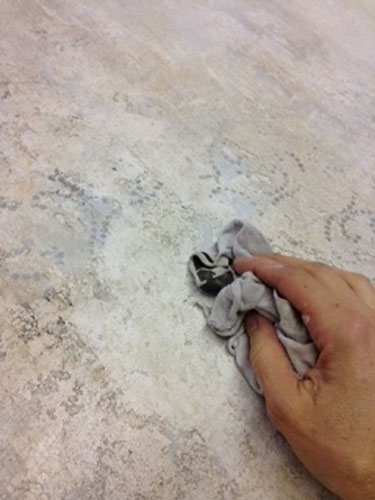
Pad with a dry cloth to soften the glaze.
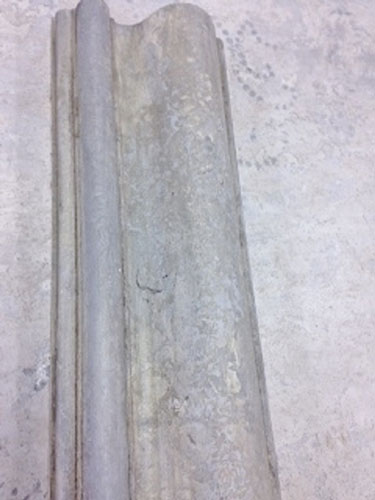
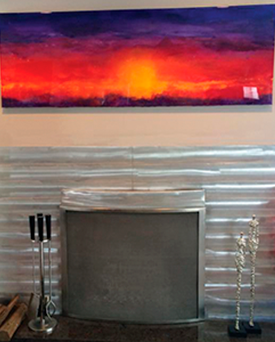
The final result. This finish works equally well on furniture. Make sure the wood surface is cleaned and sanded before applying Neutral White SetCoat®. The Faux Metal™ Silver is used to accent the molding. After drying the finish overnight, the furniture/cabinet is sealed with Varnish Plus™ Satin.

Finish Courtesy of: Rebecca Slaton
Surfaces Fine Paint & Decorative Arts Studio
Lenexa, Kansas
If you enjoyed this article, send
it to your friends on Facebook!